Figure 3.1.1.
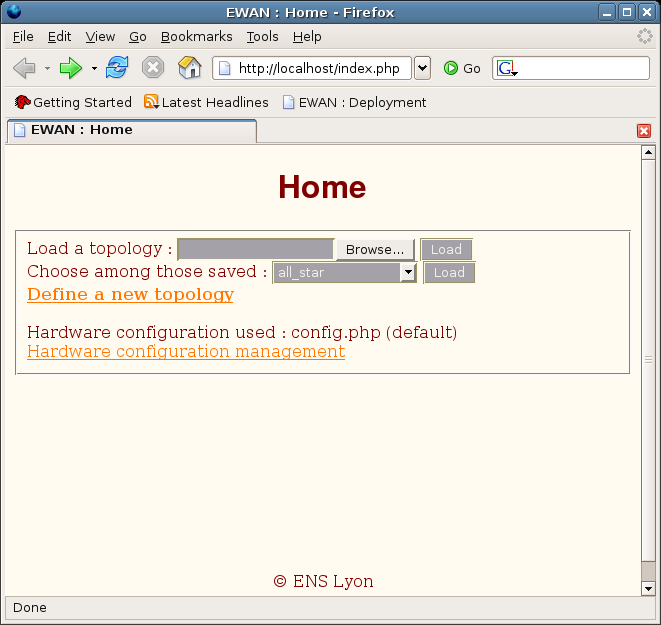
This page is divided into two parts:
The first one has the topology options from the logical topology to deploy with eWAN. You can found three options:
- Load a topology (from your local computer). This option is not useful if you are deploying eWAN in a closed cluster that never allows the connection between your computer and the computer of the eWAN server. You can put your logical topology files on the "examples" folder. This folder will be read and all the files inside will be proposed on the second option (choose among these saved)
- Choose among these saved. Here you have a list of all the topologies that we have in the "examples" folder. If you put a topology inside this folder you will be able to choose this topology by selecting it from the list later. No data is exchanged between the local computer and the computer which contains the eWAN server.
- Define a new topology. You can use this tool to define a basic logical topology, but the tool has a lot of difficulties to save, and it can't be used in an easy, direct way. An example of these difficulties is the inability to use virtual interfaces.
The second one has the configuration options which will lead the physical cluster topology. You know the file from wich all the configuration options are taken, and you have a link to a physical configuration page.
If you are using the deployeWAN tool, you do not need to use this part. The data configuration of each physical node is already read by the deploy tool.
Figure 3.1.1:
Initial page
|
 |
sansol
2006-06-09